
5 Ways to DIY with Fresh Pumpkins
/Nothing says fall like hitting up your nearest pumpkin patch and choosing the perfect pumpkins to grace your home for the next month or so. If you want to skip the carving this year, there are a variety of other creative ways to incorporate pumpkins into your decor- and some are even functional! Here are five ways you can DIY with fresh pumpkins:
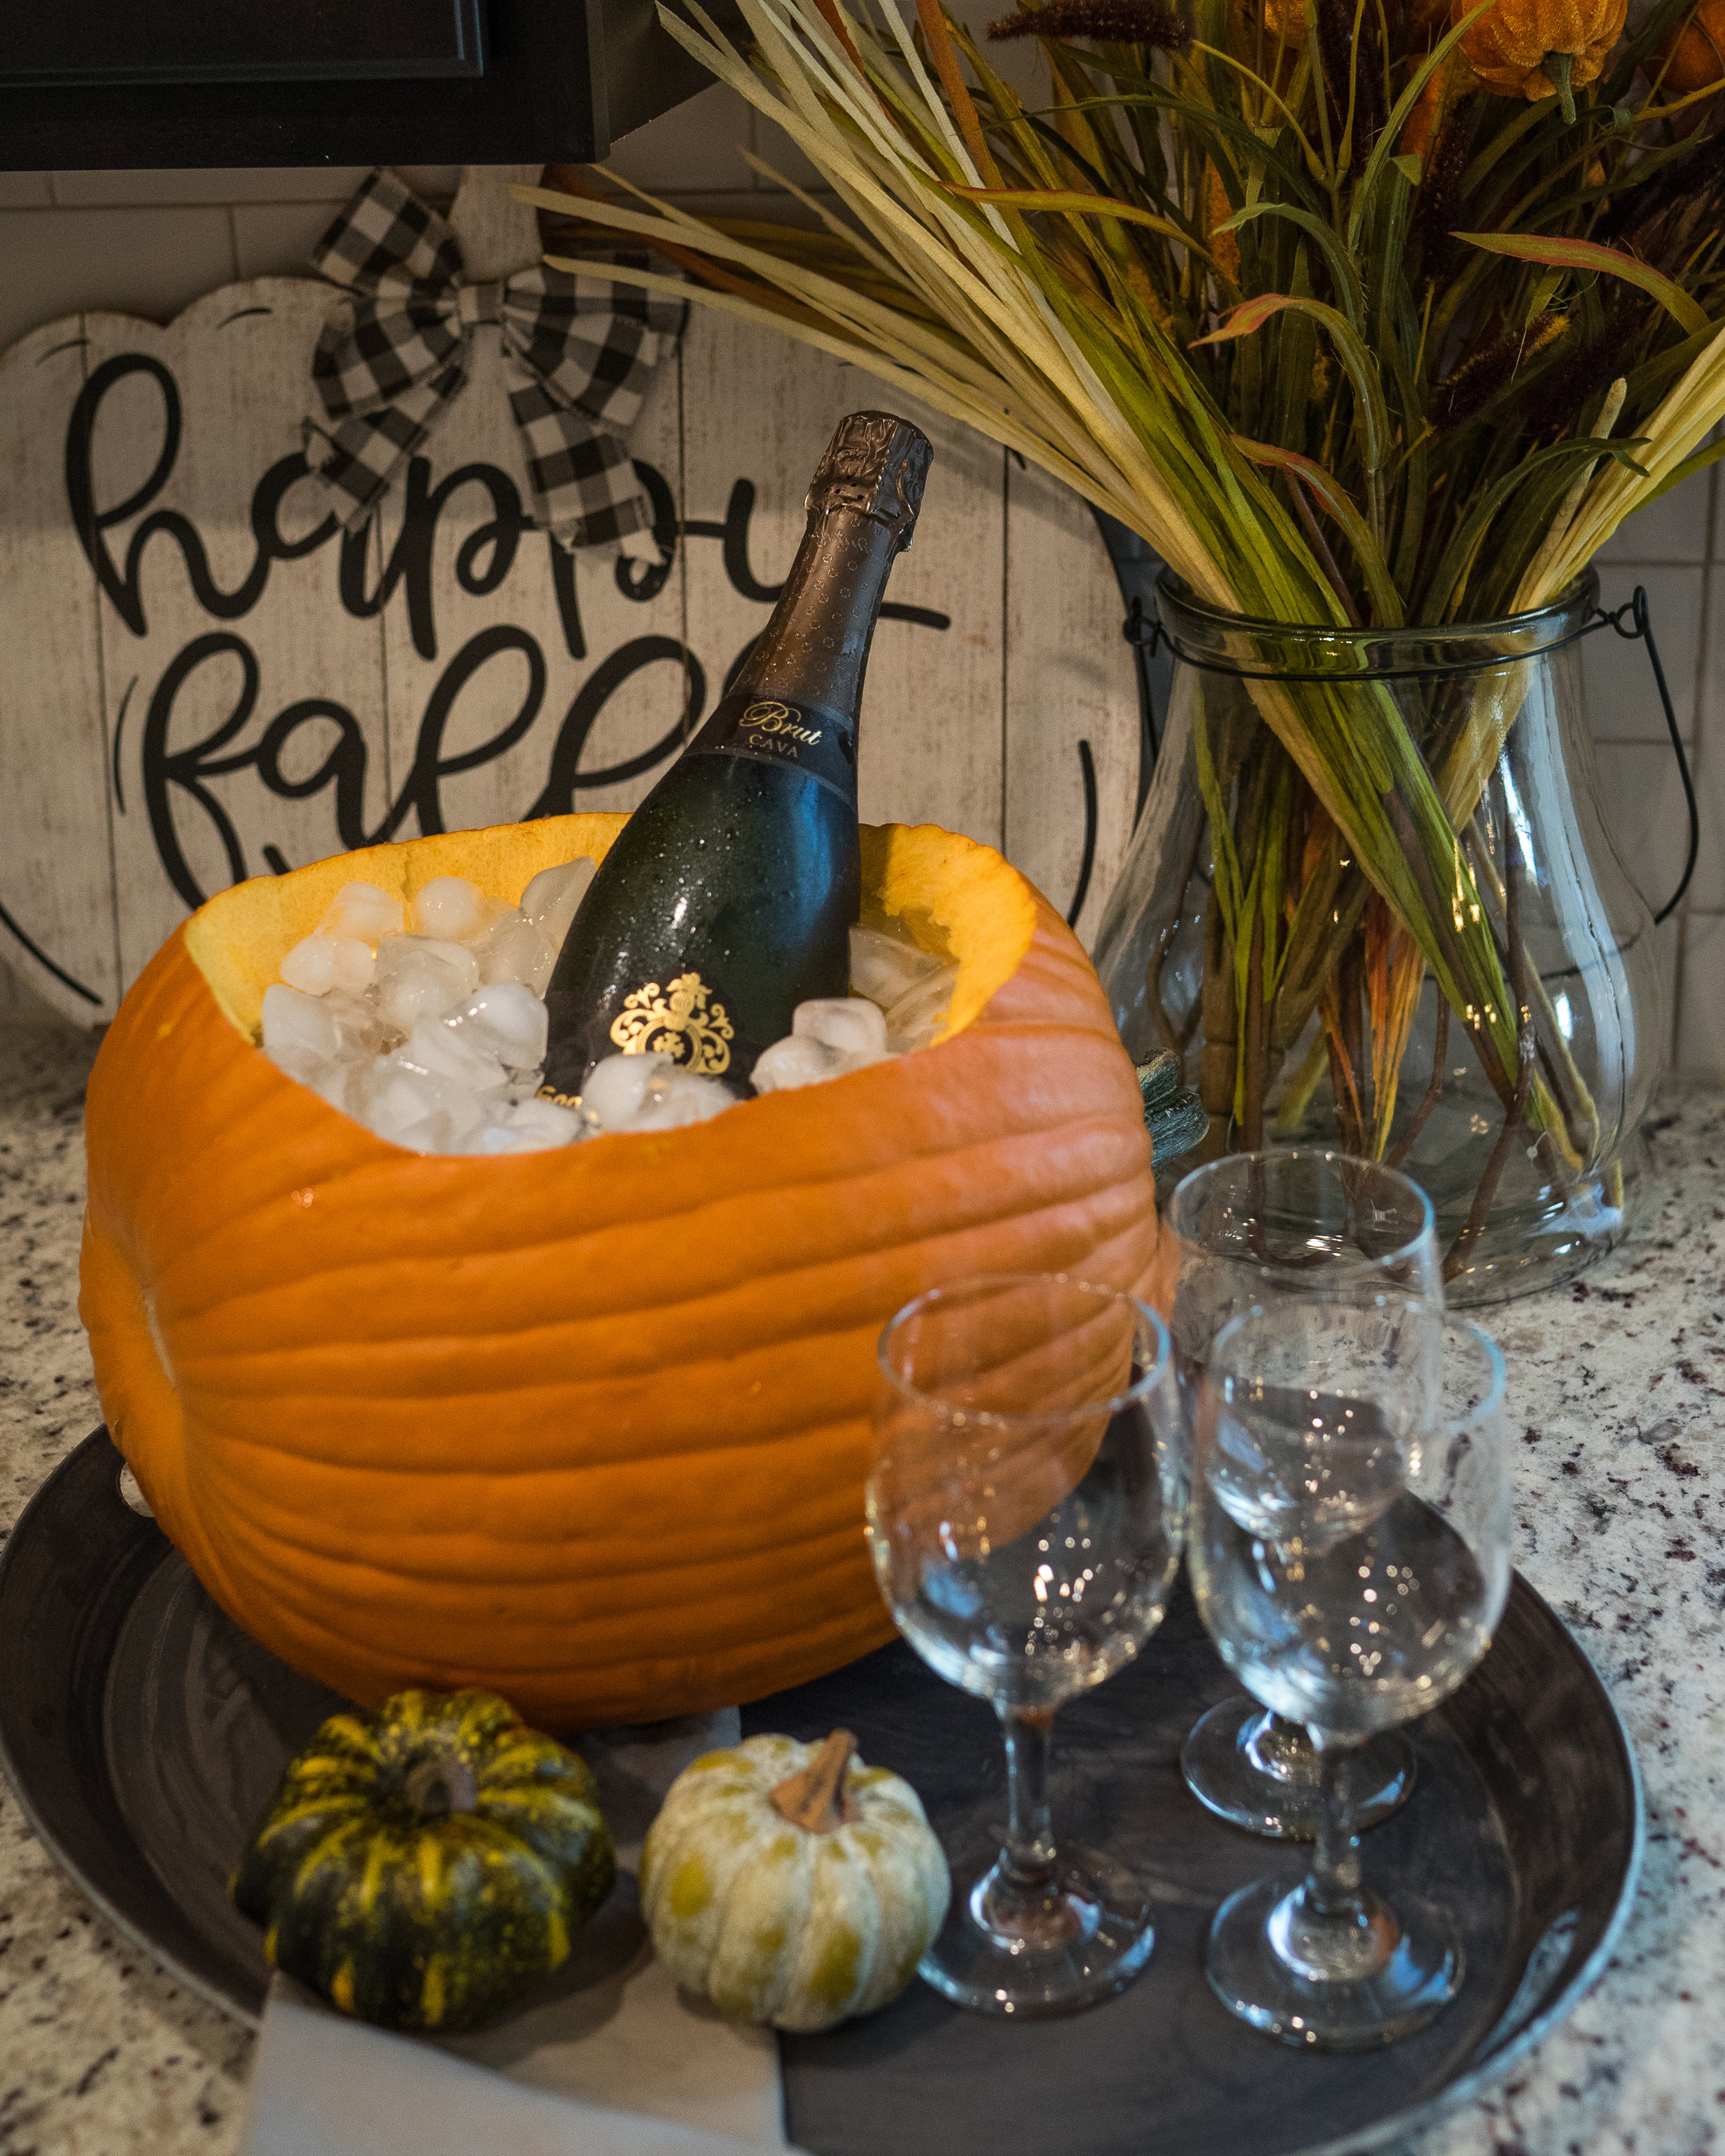
Wine Chiller
What you will need:
● Pumpkin
● Pencil/dry erase marker
● Serrated knife
● Paring knife
● Large wooden spoon
● Newspaper
● Ice
When you pick out your pumpkin, try to find one that is longer and already lays naturally on it’s side, so that you will have a flat stable base. When you’re ready to make the wine chiller, place your pumpkin on top of newspaper for easier cleanup. Use the pencil or dry erase marker to trace a large oval across the top ⅓ of the pumpkin. With the serrated knife, cut along the line at a 45-degree angle, and remove the top. Scoop out the pumpkin innards with the wooden spoon, and smooth the inside surface with the paring knife. When the inside is smooth, wash out with water and pat dry. You’re then ready to add ice and chilled wine to your pumpkin wine chiller. Set out just before your guests arrive!

2. Centerpiece
What you will need:
● Pumpkin, about the size of a volleyball
● Floral stems
● Serrated Knife
● Paring knife
● Large wooden spoon
Begin by carving a 4-inch circle out of the top of your pumpkin. Scoop out the insides, scraping the interior clean with the paring knife. Once the inside is clean, arrange your floral stems just like you would in a vase. This centerpiece will be the talk of the party at your next fall gathering!
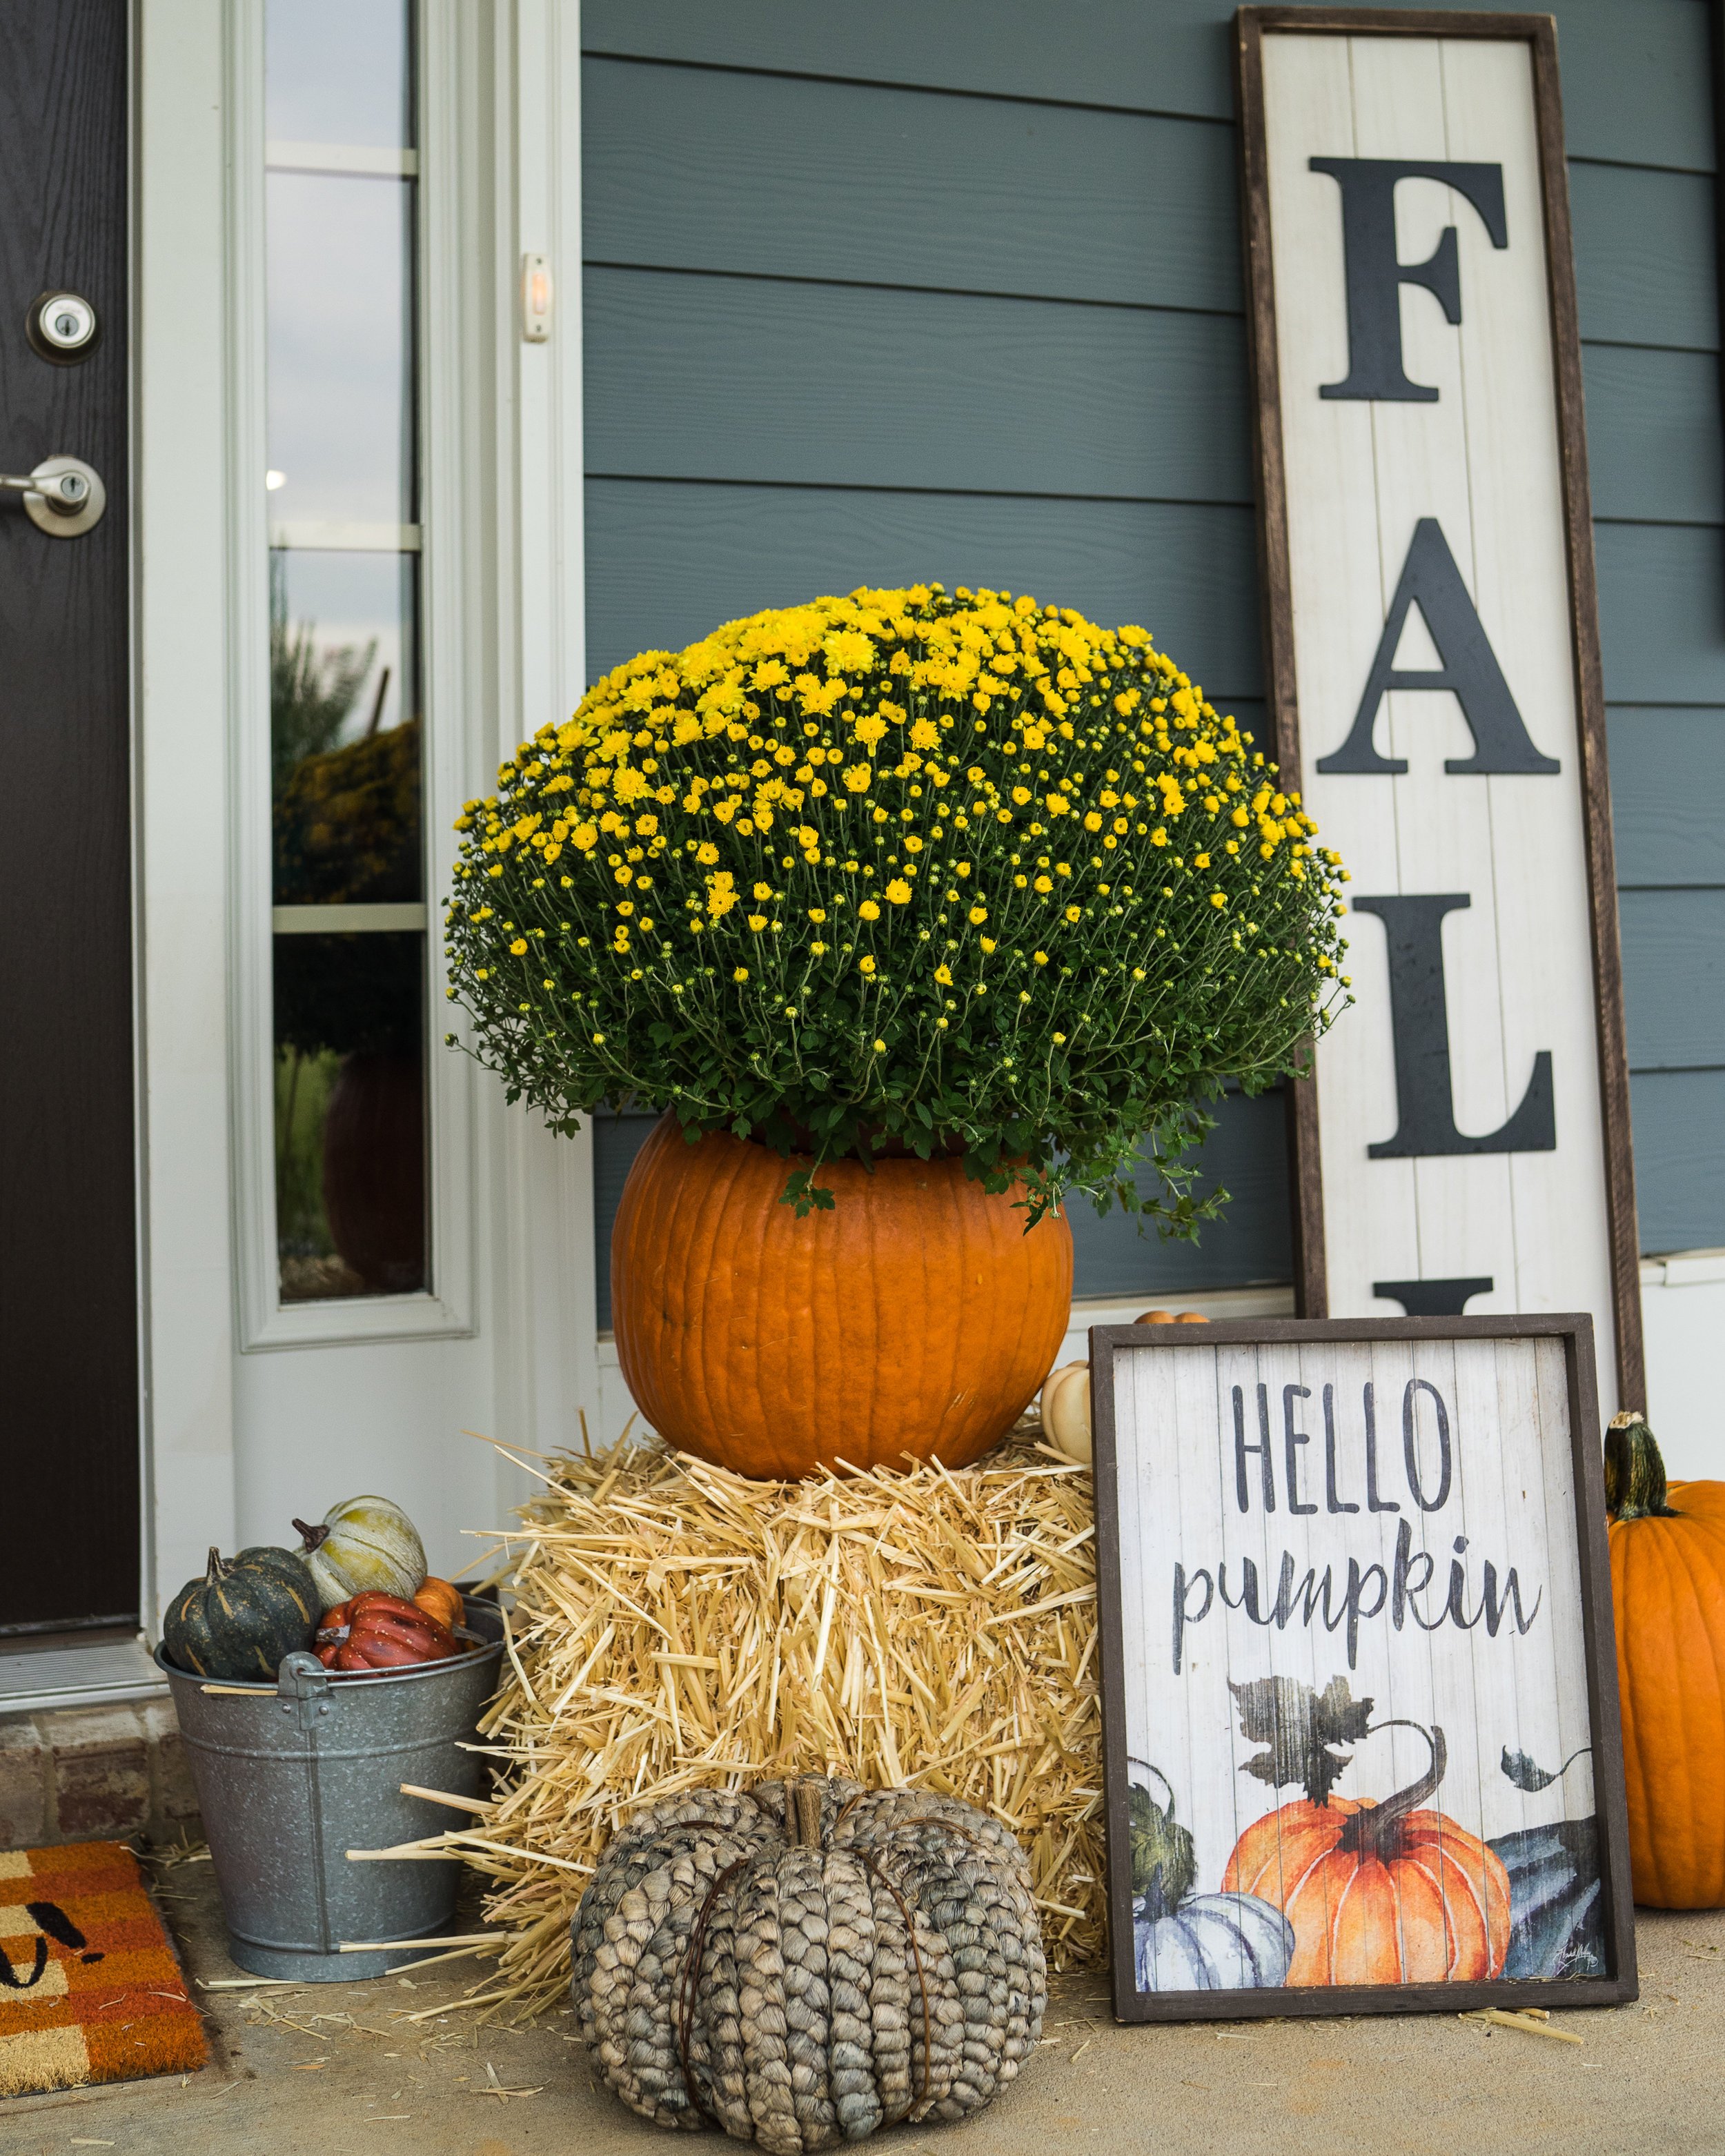
3. Outdoor Planter
What you will need:
● Large pumpkin
● One large container plant, or assortment of small plants
● Serrated knife
● Large wooden spoon
● Coffee filter
● Potting soil
With the knife, cut the top ⅓ off of the pumpkin, and scoop out the insides. Once the inside is smooth, use the knife to cut a drainage hole in the bottom of your pumpkin. Cover the drainage hole with the coffee filter so that soil doesn’t leak out of the bottom. Fill the pumpkin halfway with container mix, then place your plant down in the pumpkin. Continue to fill the pumpkin with container mix, leaving about two inches at the top, so the soil doesn’t overflow when you water. Place your pumpkin in the shade for best results. When your pumpkin begins to decompose, you can either transfer your plant to another container, or place the entire decomposing pumpkin planter in the ground for great compost!

4. Bird Feeder
What you will need:
● Round, wide pumpkin
● Large serrated knife
● Large wooden spoon
● Twine
● Bird seed
Start by cutting the pumpkin in half, and scrape out all the seeds and pulp. Knot two same-length pieces of twine together in the center- this will be to hang your feeder. Tie the ends of the twine together and hang the pumpkin feeder in your favorite spot for bird watching. The last step is to add bird seed!
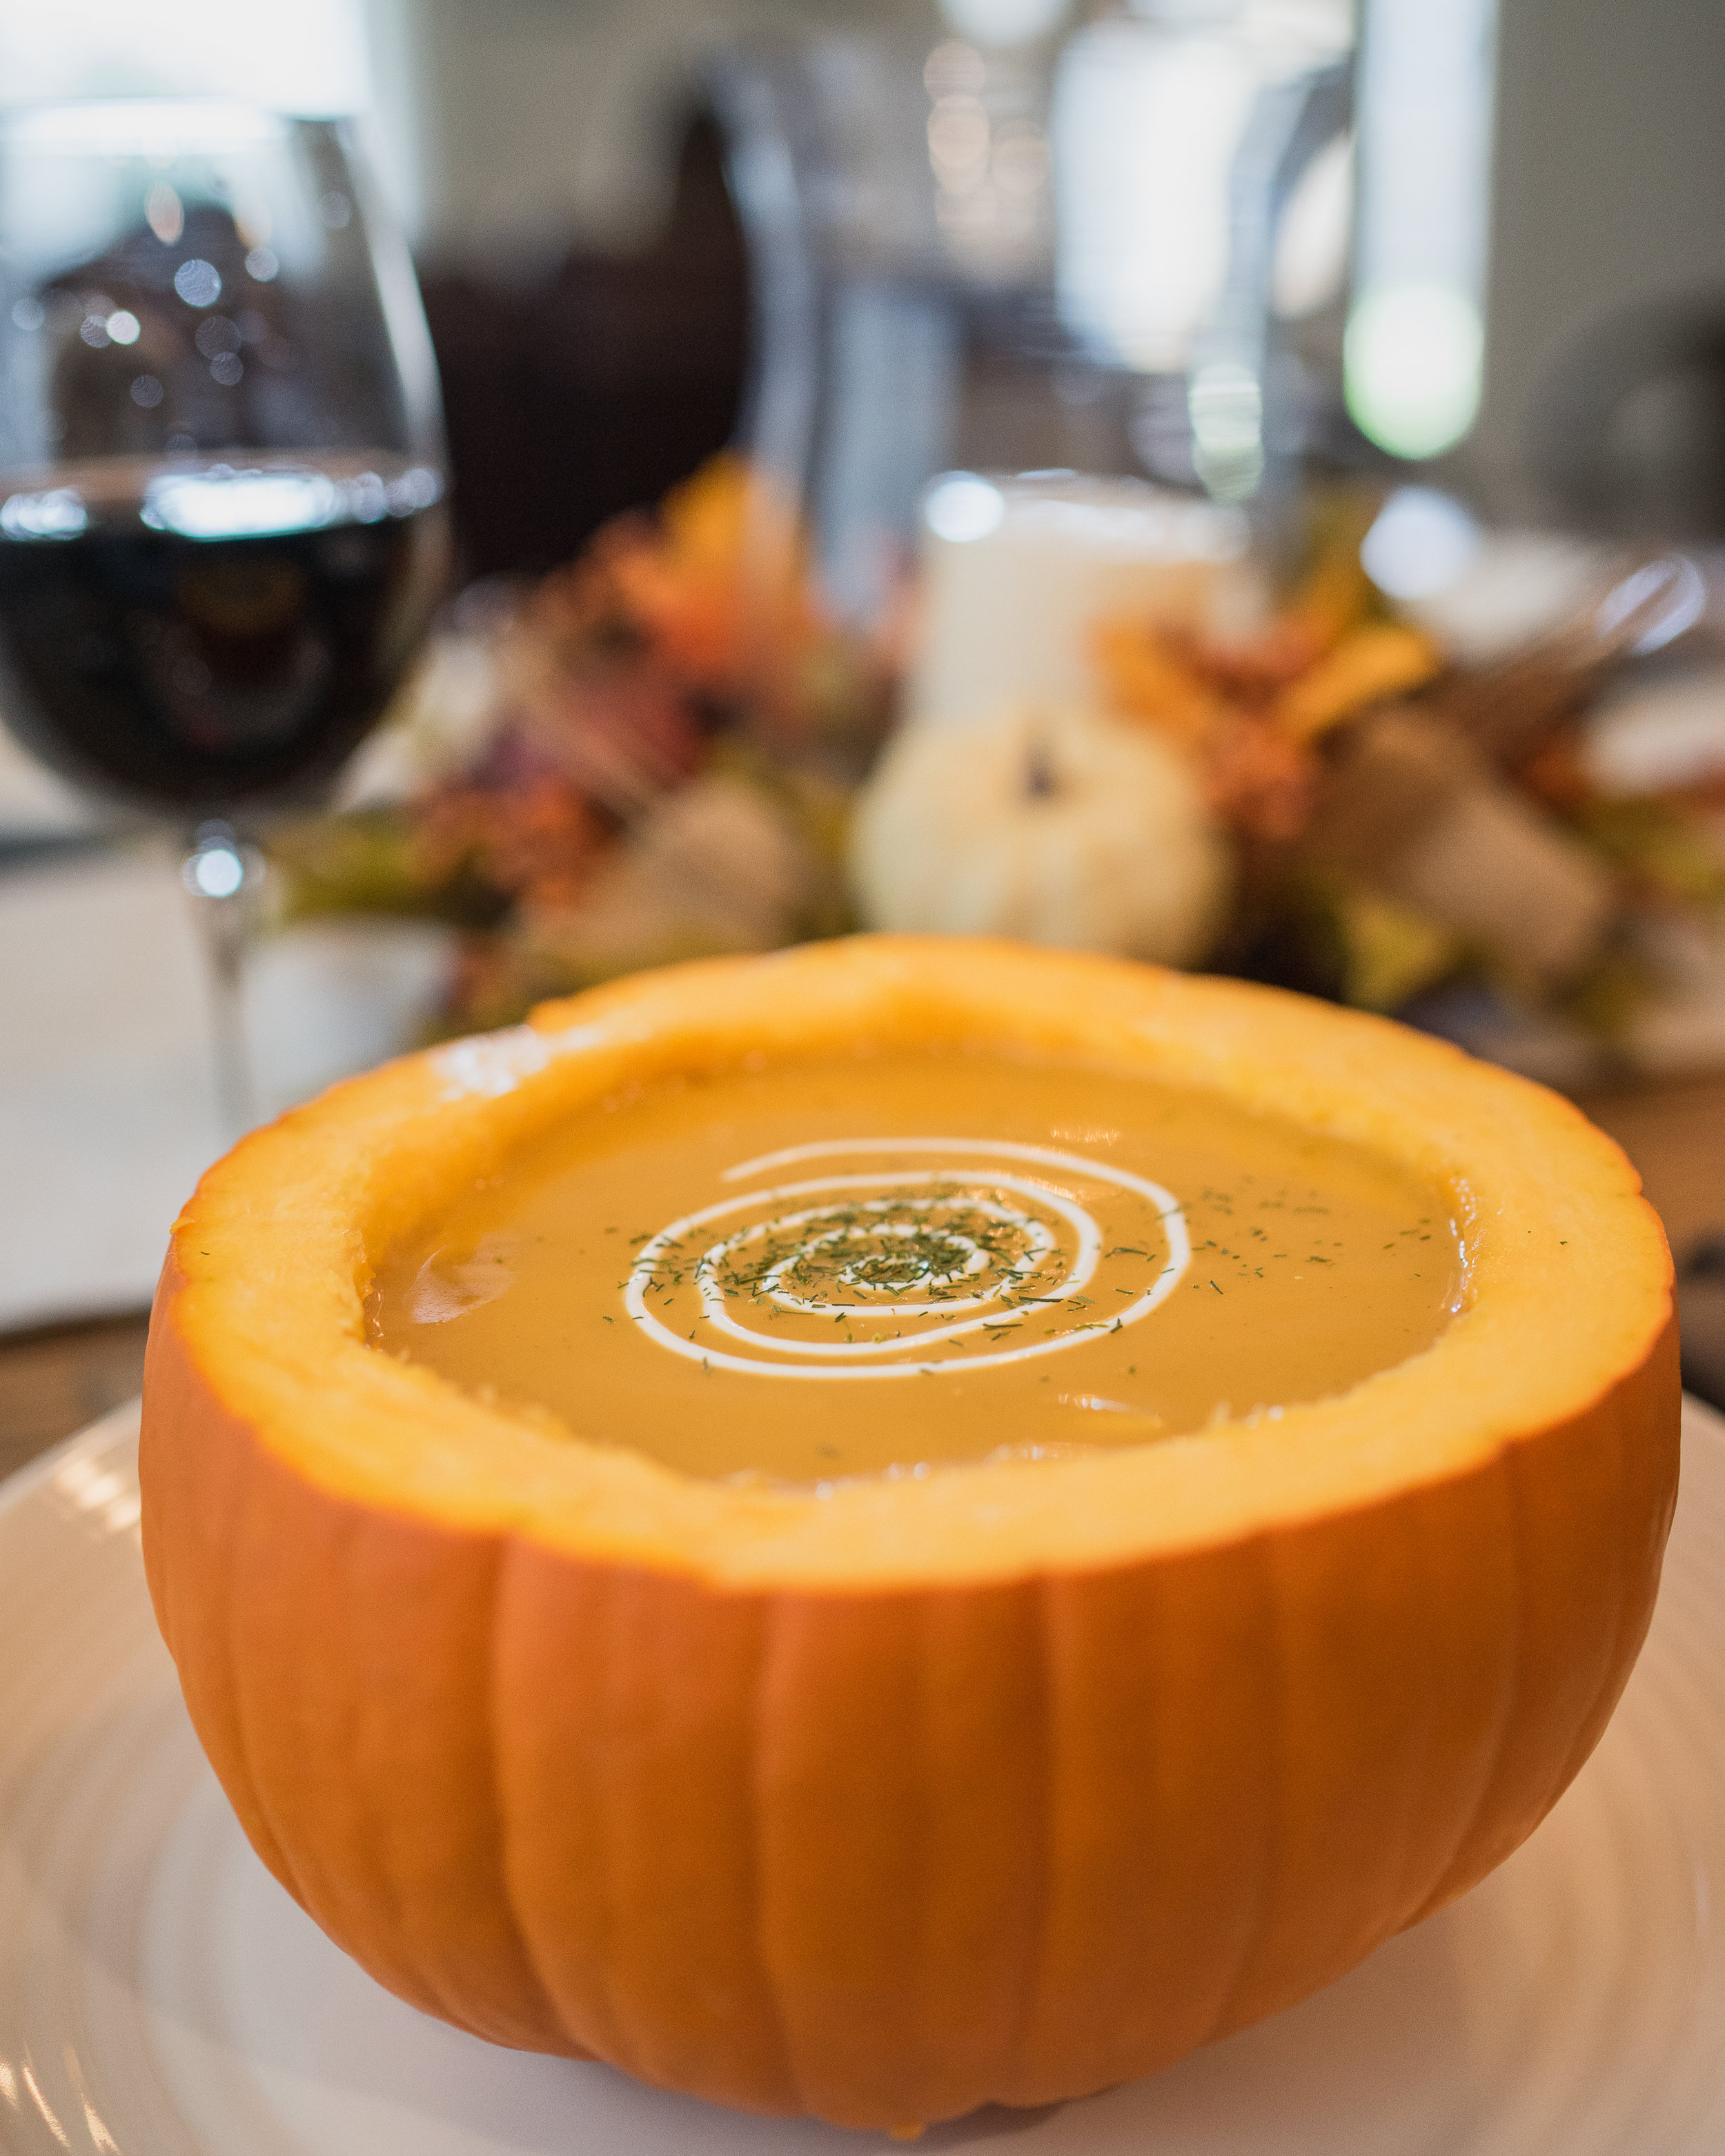
5. Serving Bowl
What you will need:
● 3-4 small pumpkins
● Serrated knife
● Spoon
● Your favorite fall soup recipe
Cut the tops off of the pumpkins, then scrape out the pulp and seeds. Rinse out with water and pat dry. You can then add your favorite soup to serve your guests!