
Using Stencils to Elevate Your Pumpkin Decor
/
Long gone are the days when a simple carved jack o’ lantern would have sufficed for appropriate porch decor during the cooler seasons. With each passing year, pumpkin decor has become more and more elaborate, and we know it can be hard to keep up! Using our stencils to create a beautiful fall-themed pumpkin can be easy as pie—without the mess of carving or the stress of your pumpkin rotting before the end of the season!
Painting Your Pumpkin
What you will need:
● Stencils
● X-Acto Knife or Scissors
● Pumpkin
● Paring Knife
● Paint
● Small Paint Brush
● Paint Pens
● Newspaper

1. Start by picking your pumpkin.
When heading to your local pumpkin patch, choose a large pumpkin with a surface area that is wide enough for the paper stencils to lay flat.

2. Set up your crafting space.
While painting your pumpkin minimizes mess, we recommend laying down some newspaper to ward off any paint spills and make for an easier cleanup.
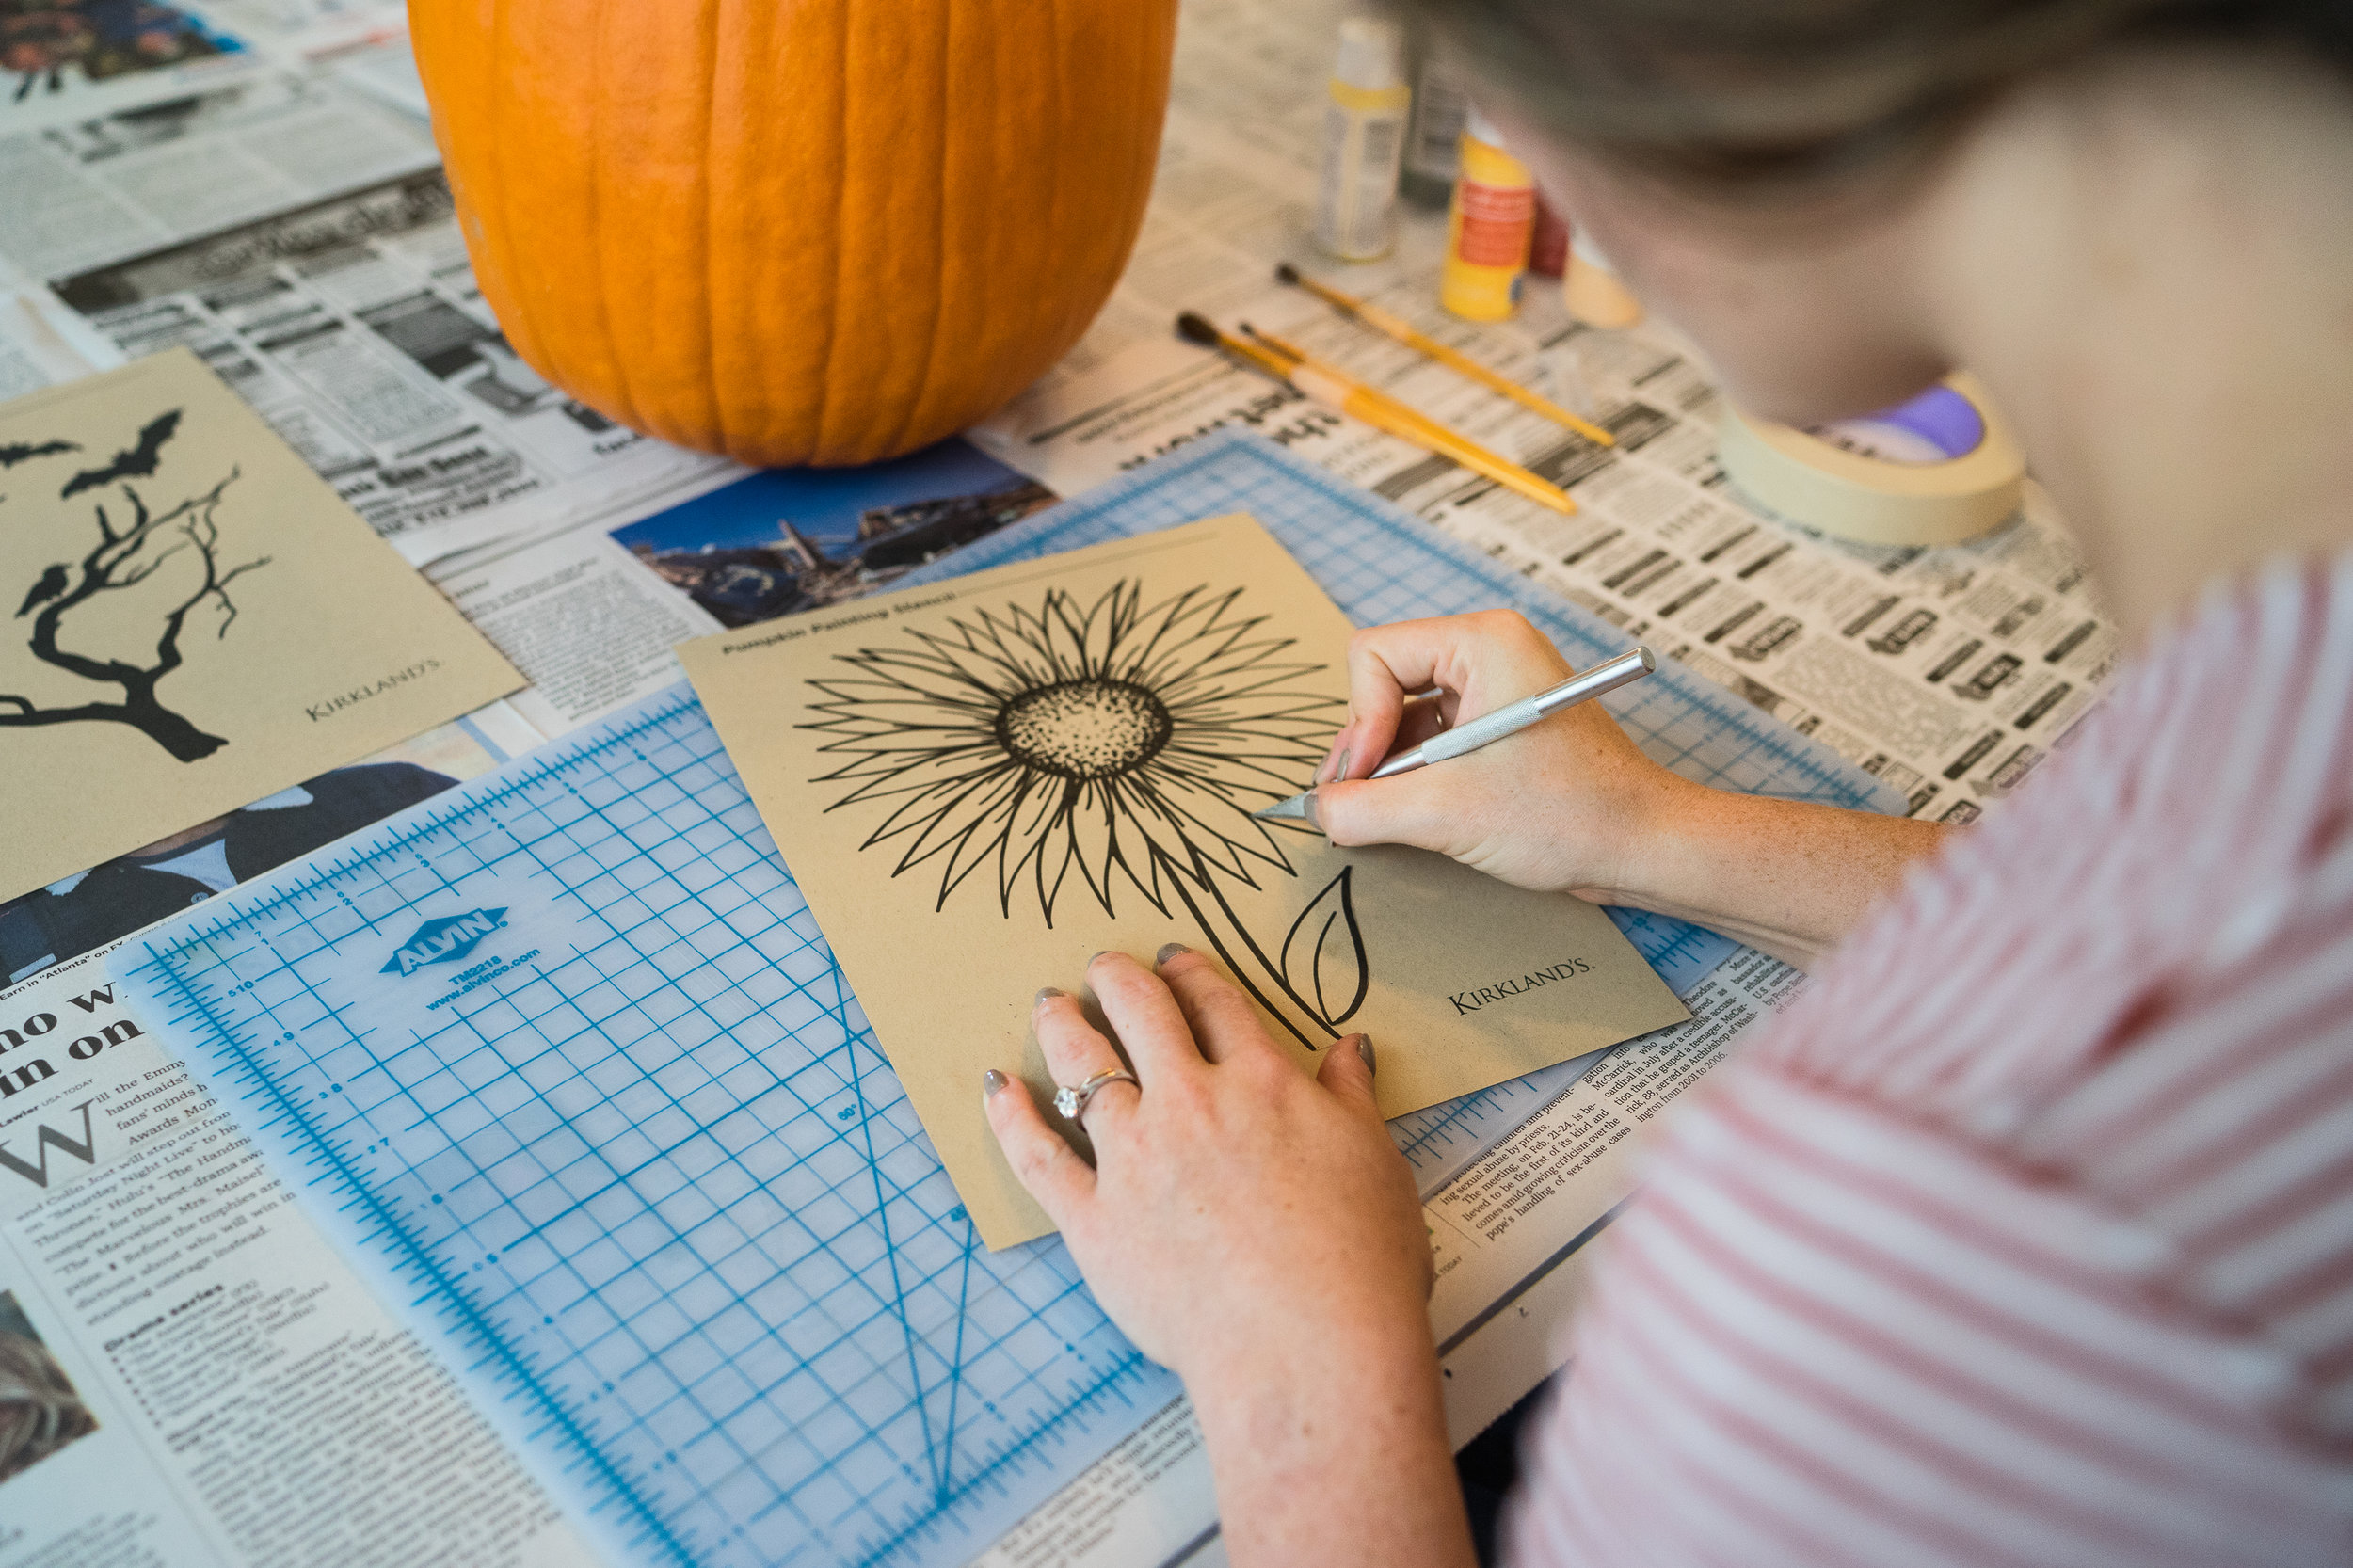

3. Create your stencils.
Print out the stencils, and choose which designs you’d like to use for your pumpkin. Cut out the different shapes with scissors or an X-Acto knife for a more precise cut.
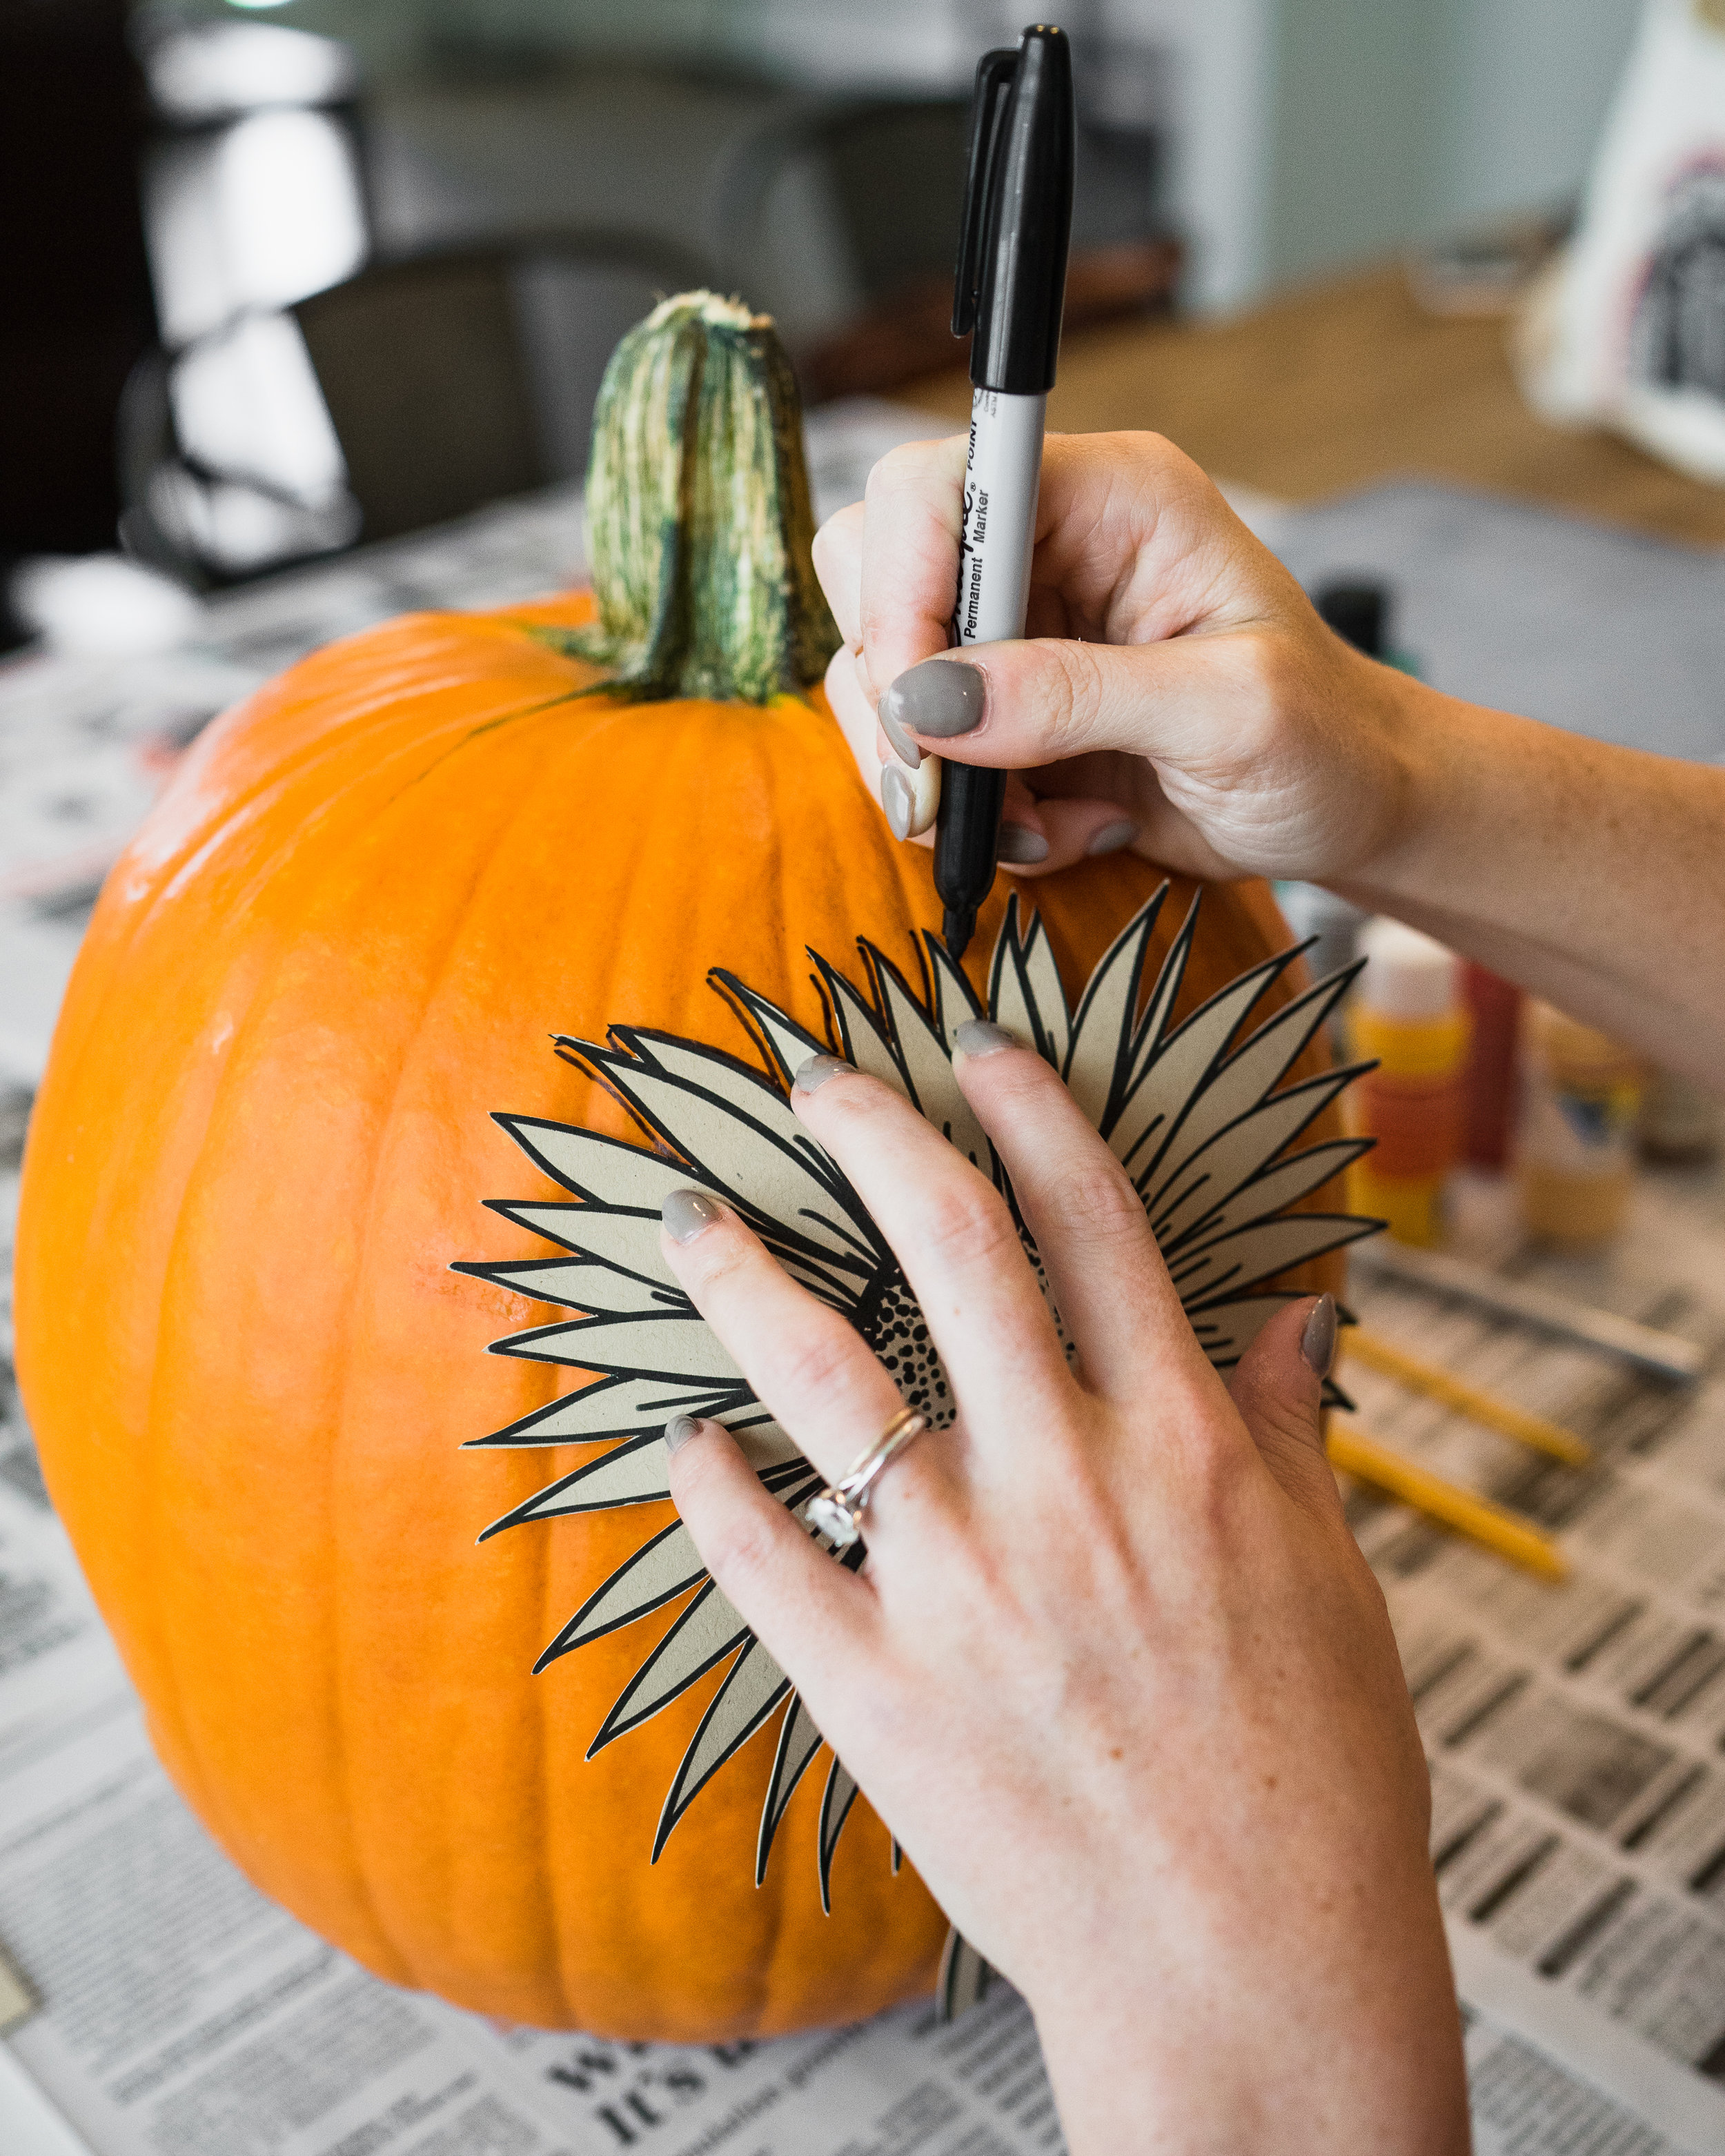
4. Trace your design.
Start by taping your stencil to the pumpkin. Using a pencil or fine-tip pen, trace the outline of each shape. Repeat this step as many times as you’d like to create your desired look!

5. Time to paint!
Using a small paint brush, fill in the outlined design with your desired color of acrylic paint. Once it dries, you can fill the smaller details with paint pens.
